Map & Objectives
A three-lane battleground in the Cursed Apple. Every structure you destroy opens the path to the next — here's the full objective chain.
A three-lane battleground in the Cursed Apple. Every structure you destroy opens the path to the next — here's the full objective chain.
Use the filters to focus on what you need. Hover any marker to see what it is — click it to jump to the full breakdown below. Bright markers are the enemy side (your targets); dimmed ones are your own mirrored defenses.
The actual in-game map. Markers sit on their real positions — hover to identify, click for the full breakdown.
One of the two side lanes. Standard 2v2 laning to start.
Middle lane. Often the most contested — closest to mid-boss and central rotations.
The other side lane. Destroying both Shrines upgrades this lane's troopers too.
Each lane has a zipline running its length for fast travel. Trooper waves spawn on timers and march down every lane — they absorb structure damage so you don't have to.
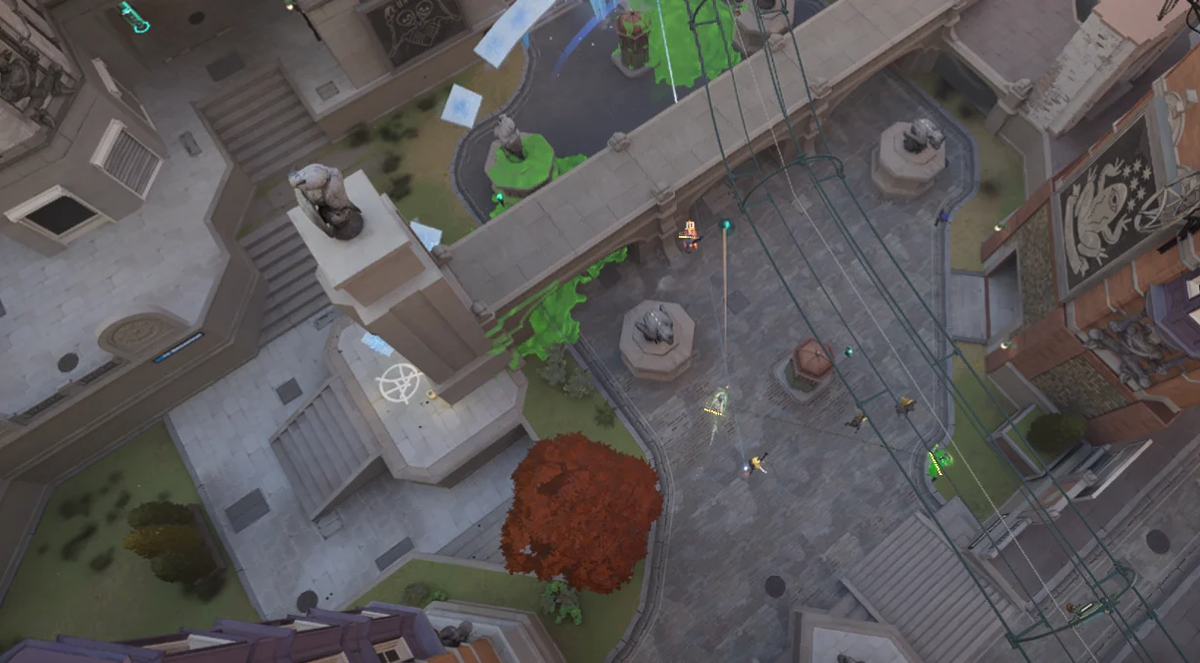
A lane from above — note the zipline cables running its length for fast rotations.
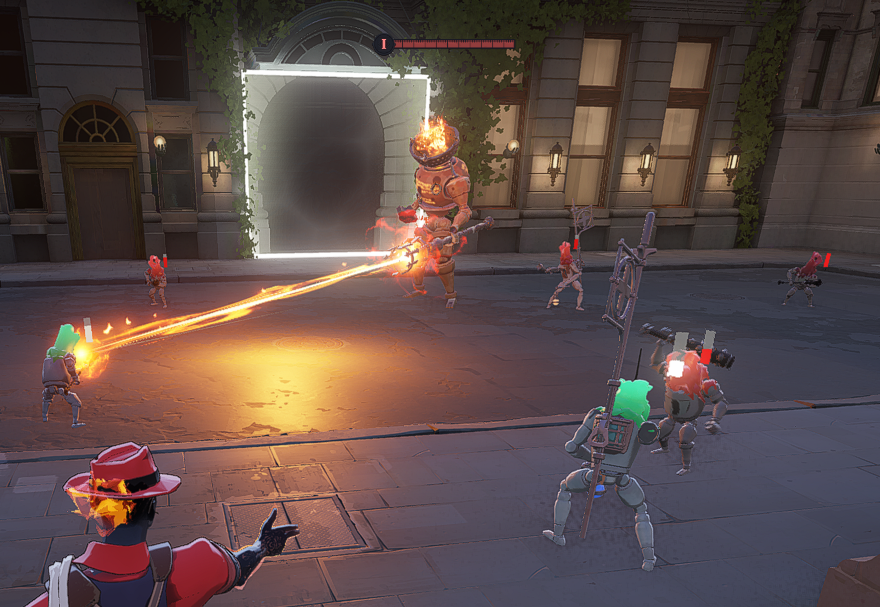
Troopers marching down lane — they tank structure damage so you don't have to.
| # | Structure | Role | Destroying It… |
|---|---|---|---|
| 1 | Lane Guardian | First line of defense | Opens the path toward the Walker |
| 2 | Walker | Heavy mid-lane objective | Unlocks an Extra Item Slot for your team |
| 3 | Base Guardian (pair) | Final defense before the base | Speeds up your lane's zipline significantly |
| 4 | Shrines (×2, in base) | Base structures, defended by a Curse-style attack | Both must fall to expose the Patron; each one upgrades that side's troopers to Super Troopers |
| 5 | Patron | Final boss | Two phases — kill both to win the match |
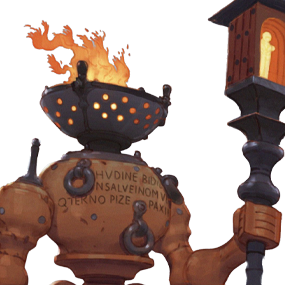
The first tower in each lane. Attacks with a sustained laser beam, a melee swipe for anyone who hugs it, and an area-of-effect slam.
How to fight it: let troopers tank — the laser locks onto whatever's closest, so stand behind your wave and poke when the beam isn't on you. Killable solo early if you respect the laser.
When it dies: opens the lane toward the Walker, plus a team-wide soul bounty and an ability point for everyone.
Newbie mistake: chipping it alone with no troopers nearby. Structures take almost no hero damage without a wave — you're just feeding it free hits.
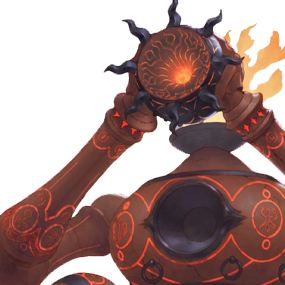
Giant robotic lane bosses and the strongest lane structure. Uses a laser, projectile salvos, and a slam with a stun.
How to fight it: bring the team — this is not a solo objective. Spread out so the AoE salvos don't catch everyone, keep distance to dodge the stun, and let troopers soak damage while you focus fire.
When it dies: unlocks an Extra Item Slot for your entire team — a permanent power boost. This makes Walker fights some of the highest-value plays in the game.
Newbie mistake: starting a Walker while enemies are missing on the minimap. It's a dinner bell — expect a fight, and have your team ready for it.
The final lane defense, fought as a paired duo just outside the enemy base. Individually they fight like Lane Guardians (laser, melee, slam) — but there are two of them covering each other.
How to fight them: same rules as Guardians — troopers tank, you poke — but coordinate focus fire. Splitting damage between both just lets them grind you down. Pick one, burn it, then finish the other.
When both die: your lane's allied zipline speeds up significantly, the enemy's Shrines become damageable, and their soul income in that lane chokes off. No direct soul bounty — the reward is map control.
Newbie mistake: diving past them into the base. The Shrines can't be damaged until these two are down, so all you're doing is dying behind enemy lines.
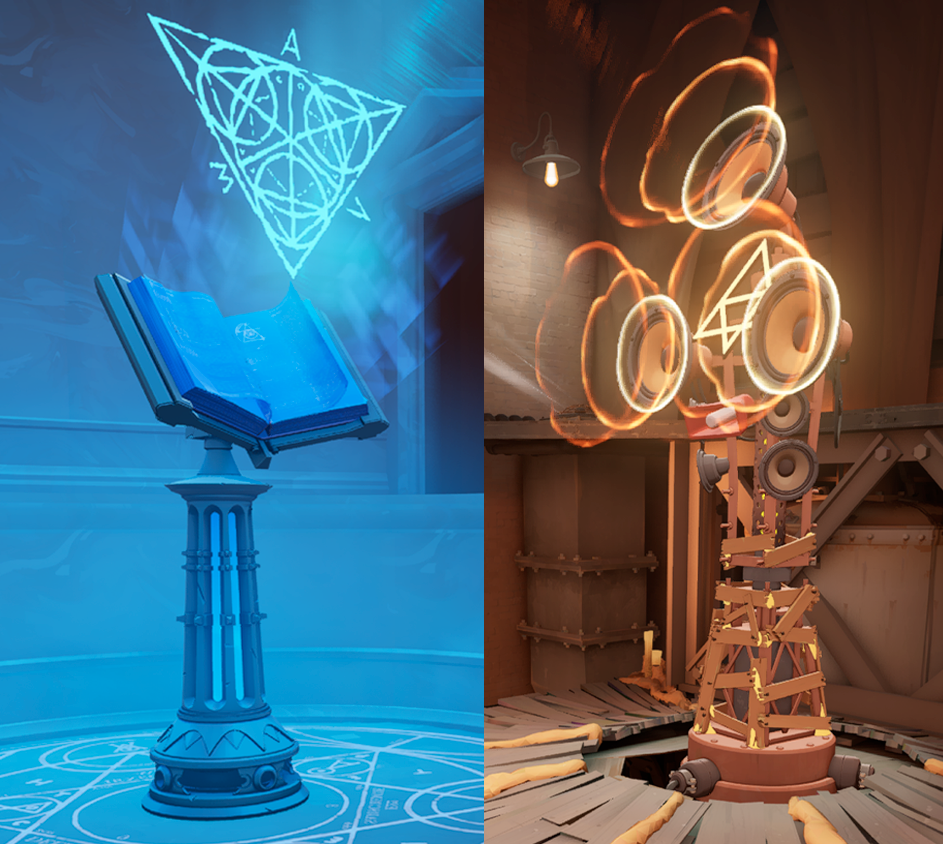
Two structures inside each base. They defend themselves with a Curse-style attack — don't assume they're free. Both must be destroyed before the Patron can be damaged at all.
When one dies: that side lane's allied troopers upgrade into Super Troopers — tougher, harder-hitting minions that push on their own. Destroy both and Broadway upgrades too, so both Shrines are required for Supers in all three lanes. Each Shrine also grants team souls (~500).
Newbie mistake: hitting the Patron while a Shrine still stands. It literally cannot take damage — check both Shrines are down first.
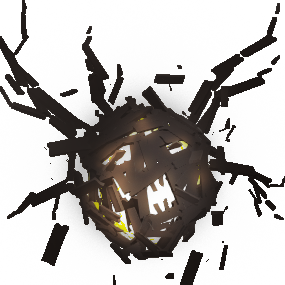
The final boss — killing it wins the game. It fights in two phases.
Phase 1: damage it to ~50% health. It then becomes invulnerable, transforms, and retreats into the team's pit for its weakened second phase. Killing phase 1 also gives the defending team a one-time Last Stand respawn-time reduction — so expect them to fight desperately.
Phase 2 (weakened): it's vulnerable but regenerates health if not kept under attack. Commit as a team and finish it — backing off lets it heal back up. Killing the weakened Patron ends the match.
Newbie mistake: celebrating after phase 1 and backing off. The regen will undo your work. When you go in, go in to finish.
A neutral boss in the middle of the map. Killing it spawns a Rejuvenator crystal — smash it with heavy melees to claim team revive credits. A hero who dies while credits remain revives on the spot after a short delay instead of at base.
How to play it: either team can steal the claim by breaking the crystal themselves, so don't start the mid-boss unless your team can finish it and hold the area. Time it before a big push — reviving on the spot during a base siege is game-winning.
Newbie mistake: doing mid-boss alone while the enemy team is alive. It's the loudest objective on the map — you'll get collapsed on.

A recurring event — a Soul Urn descends on one side of the map. A hero picks it up and carries it to a drop-off on the opposite side for a large team-wide soul payout.
The catch: the carrier can't shoot or use abilities, is revealed on the enemy minimap (blue square if your team holds it, red for theirs), and drops the urn if hit by a heavy melee. It's an escort mission — send your carrier with bodyguards, and hunt the enemy's carrier with yours.
Newbie mistake: grabbing the urn and running solo. You're a glowing defenseless target — without an escort you're just donating souls to whoever intercepts you.
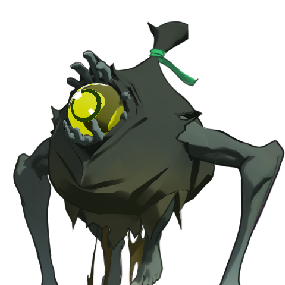
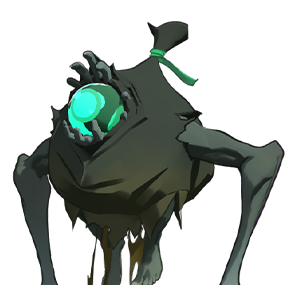
Neutral creatures living in the jungle zones between lanes. Clearing them is bonus souls outside the lane — farm them when your lane is pushed or between rotations. The City Never Sleeps update replaced the old camp system with Haunts: varied creatures with different mechanics, in easy, medium, and hard tiers.
How to farm them: harder tiers give more souls but take longer and leave you vulnerable. Easy camps are quick value on a rotation path; hard camps are worth grouping for. Fast farmers (heroes with strong wave-clear or AoE) get the most out of jungle time.
Newbie mistake: spending all game in the jungle while your lane's structures fall. Camps are a supplement to laning, not a replacement — an empty lane bleeds objectives.
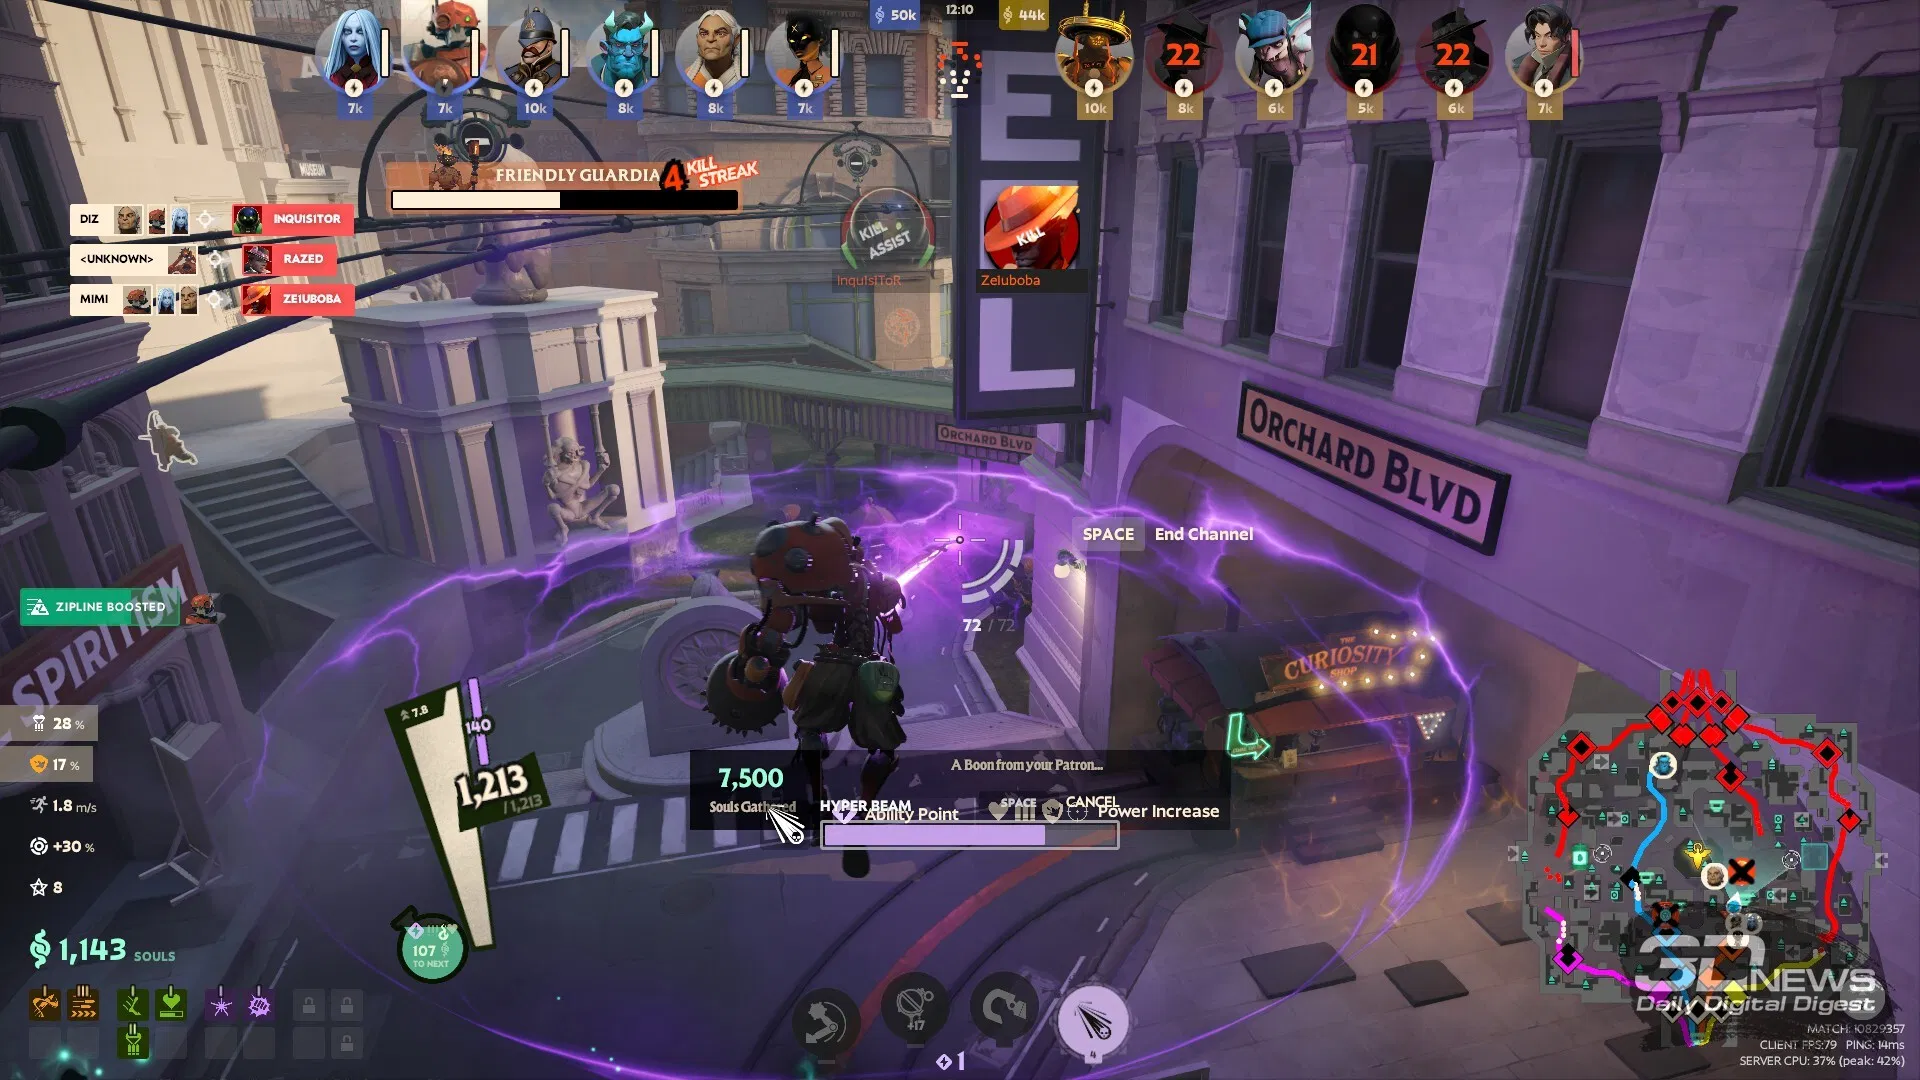
Scattered around the map — marked with a green shop icon on the minimap. This is where you spend souls on items. You don't need to return to base; shops are positioned so you can buy between rotations.
How to use them: walk up to a shop and open it to browse Weapon, Vitality, and Spirit items across four tiers (800 / 1,600 / 3,200 / 6,400 souls). Plan purchases around your next objective — buying before a Walker fight is worth more than buying after it.
Newbie mistake: sitting on thousands of unspent souls. Souls in your pocket do nothing — if you're passing a shop with 1,600+ banked, stop and spend it. A completed item now beats a perfect item later.
Doors between areas of the map that instantly move you across it — flank routes and late-game rotation tools. They unlock at 8:00; before that they stay shut. Marked on the minimap with a gray box-and-arrow icon pointing the travel direction.
How to use them: after 8:00, they're the fastest way to answer a fight on the opposite side of the map. Keep their positions in mind when split-pushing — a teleporter means you're never truly isolated, but it also means the enemy can collapse on you just as fast.
Powerups also spawn periodically around the map — temporary buffs worth grabbing when you're nearby, and worth contesting when the enemy wants them.
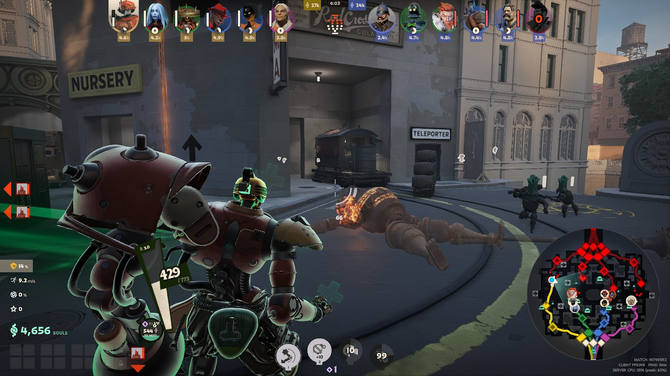
Watch the minimap constantly — it shows lanes, objectives, shops, and teammates at a glance. Learn the symbols: diamonds are structures, the yellow center icon is the mid-boss, green is a shop.